A Dessert That Feels Like a Hug
Some desserts are fancy. This one is just happy. It is the kind of treat you make when you want to smile without any work. I still remember the first time I made it for a summer picnic. My niece took one bite and said, “Aunt Lily, this tastes like a party.” She was right.
The best part? You do not even turn on the oven. That matters on hot days when you want something cold and sweet. Have you ever made a no-bake dessert? Tell me about your favorite one in the comments.
A Little Bit of Candy History
Butterfinger bars have been around for a long time. They first showed up in 1923. That is over one hundred years ago. My grandpa used to buy them at the corner store for a nickel. He said the crunch was the best part.
Angel food cake is old too. It became popular in the 1800s because it is light and fluffy. Put them together and you get something special. It is like two old friends meeting for the first time. Does not that sound nice?
How I Put It Together (And Almost Lost It)
First, I crush the Butterfinger bars. You can use a rolling pin or just chop them with a knife. I like big pieces for crunch and little pieces for hiding in every bite. Then I spread half of them in a 9×13 pan.
Next comes the angel food cake. I cube it into bite-sized chunks and scatter them over the candy. Then I make the vanilla pudding. After two minutes, I fold in the whipped topping. That step is important. Fold gently, like you are tucking in a blanket. I once folded too fast and splashed pudding on my shirt. I still laugh at that.
Why does gentle folding matter? It keeps the dessert airy and light. Nobody wants a heavy pudding brick. Spread the mixture over the cake, top with the rest of the Butterfinger pieces, and let it chill. That is it.
Why This Dessert Is a Good Friend
Here is something I have learned over the years. Simple recipes teach us patience. You let the dessert sit in the fridge so the flavors can get to know each other. That waiting is hard, but it is worth it.
This dessert also brings people together. I made it for a church potluck once, and three people asked for the recipe. One lady said she had not baked in years but could handle this. That is why this matters. Food should feel doable, not scary. What is one dessert you thought was hard but turned out easy?
A Fun Crunchy Fact
Here is a fun bit of trivia. *Fun fact: Butterfinger got its name because the candy bar is so crispy it kind of “butters” your finger when you eat it.* I always think of that when I see the little crumbs on my plate. Those crumbs are the best part of any dessert, do you agree?
The crunch also makes each bite different. Some bites have more cake. Others have more candy. That surprise is what keeps you going back for another forkful. It is like a treasure hunt on a plate.
Your Turn to Make Memories
I hope you try this dessert soon. It takes maybe twenty minutes of hands-on time. The hardest part is waiting for it to chill. But while you wait, you can sit on the porch or call a friend.
One last question for you. Would you add chocolate sauce on top, or keep it plain? I like it plain so the Butterfinger shines. But everyone has their own style. Let me know how you make it yours.

Step 1: Crush your Butterfinger bars. I use a rolling pin inside a plastic bag — makes less mess. (Pro tip: freeze the candy bars first for cleaner breakage.) Set half aside for the top later. Doesn’t that smell like a candy shop?
Step 2: Cube your angel food cake into bite-size pieces. Spread them evenly over the crushed candy in a 9×13 pan. I like to tear a few pieces with my fingers — feels more homemade. What is your favorite way to cut cake? Share below!
Step 3: Make your instant vanilla pudding according to the box. After two minutes, fold in the whipped topping until smooth. (Don’t overmix or it gets thin.) This creamy layer is the heart of the dessert.
Step 4: Pour the pudding mixture over the cake cubes. Spread it gently to cover every bit. Sprinkle the remaining Butterfinger pieces on top. Chill for at least two hours — the wait makes it better.
Creative Twists
… Swap vanilla pudding for chocolate or butterscotch. It changes the whole flavor and tastes like a different treat.
… Add a layer of sliced bananas between the cake and pudding. It gives a fresh, fruity surprise in every bite.
… Use crushed peanuts on top instead of more Butterfinger. It adds crunch and cuts the sweetness a little.
Which one would you try first? Comment below!
Serving & Pairing Ideas
Serve this dessert cold with a dollop of fresh whipped cream. It pairs wonderfully with a hot cup of coffee or a tall glass of milk. For a party, cut into small squares and top with a single chocolate curl. Which would you choose tonight?
Storing and Reheating Your No-Bake Dessert
This Butterfinger angel food dessert keeps well in the fridge. Cover it tightly with plastic wrap. It will stay fresh for up to three days. Freezing works too. Wrap the whole pan in foil and freeze for up to a month. Thaw in the fridge overnight. I remember my first time making this. I left it out on the counter by mistake. The whipped topping turned runny. Now I always chill it right away. Batch cooking this dessert is a smart move. Make two pans at once. Freeze one for later. Why does this matter? It saves you time on busy days. You can pull out a homemade treat anytime.
Have you ever tried storing it this way? Share below!
Three Common Problems and Easy Fixes
The angel food cake can turn mushy. Fix this by letting the cake sit out for an hour before cubing. Stale cake holds up better. Another issue is candy pieces losing crunch. Butterfinger pieces soften fast. Stir them into the pudding mixture right before serving. I once added them too early. The next day they were chewy, not crispy. *Fun fact: Butterfinger candy stays crunchiest when stored in a sealed bag away from moisture.* The third problem is pudding that won’t set. Use cold milk and whisk for a full two minutes. Let it rest before folding in the whipped topping. Why does fixing these issues matter? It makes your dessert taste like you worked all day. Small steps build your cooking confidence.
Which of these problems have you run into before?
Your Quick Questions
Can I use a different candy bar? Yes, you can swap Butterfinger for any crunchy chocolate bar. Try Heath or Skor for a toffee taste. The texture will change a little. Just crush the candy the same way. The pudding and whipped topping layers stay the same. Remember to chill the dessert well. The candy pieces will soften over time. For best crunch, add them right before serving. This tip works for any no-bake dessert with candy.
How do I make this dessert lighter in calories? Use sugar-free vanilla pudding and light whipped topping. The angel food cake is already low in fat. Butterfinger pieces add sugar, so use one bar instead of three. You can also add fresh berries for sweetness. The texture will be a bit different. But the dessert still tastes great. It becomes a lighter treat you can enjoy more often.
Can I make this dessert in individual cups? Yes, layer the cake, candy, and pudding mixture in small jars or cups. This makes serving easy and fun. It also helps with portion control. Each cup sets nicely in the fridge. Kids love having their own little dessert. The same storage tips apply. Keep them covered and chilled.
Warm Send-Off from Lily Simmer
Thank you for spending time in my kitchen today. I love sharing simple desserts that bring joy. This Butterfinger no-bake treat is perfect for summer parties or cozy nights. Every time I make it, I think of my grandkids’ happy faces. Now I want to hear from you. Have you tried this recipe? Tell me about your experience in the comments. I read every single one. Happy cooking! —Lily Simmer.

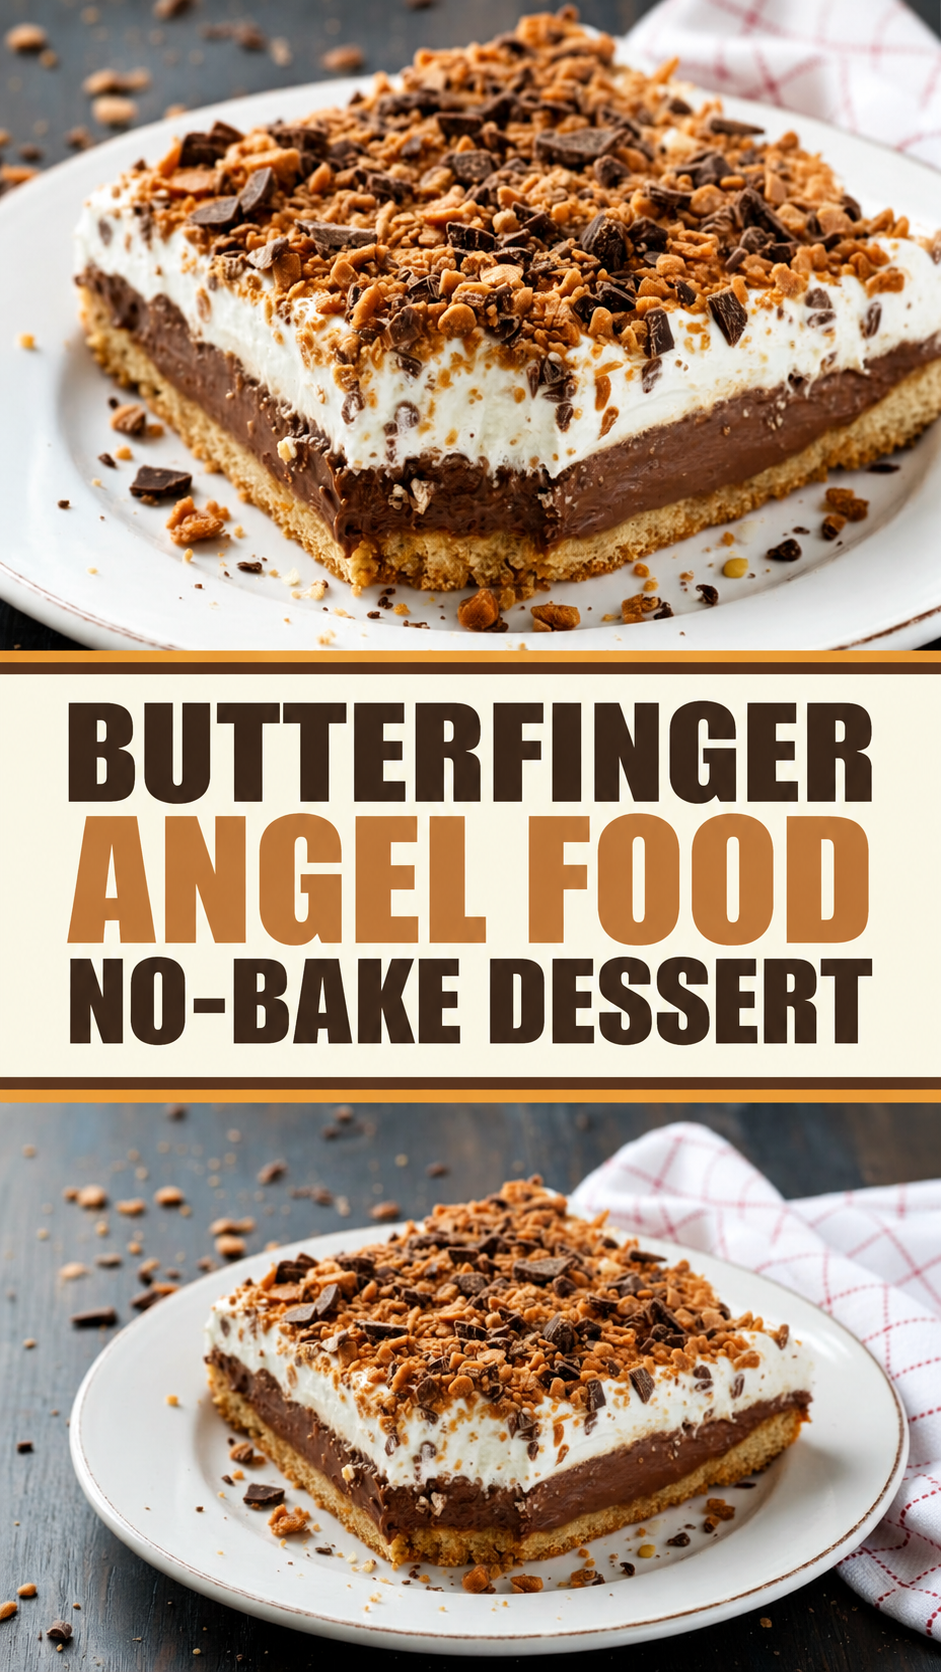
Butterfinger Angel Food No-Bake Dessert
Description
A delightful no-bake dessert with angel food cake, creamy vanilla pudding, and crushed Butterfinger candy bars.
Ingredients
Instructions
- Crush the candy bars or cut them into small pieces with a sharp knife. Place 1/2 of the candy bar pieces in a 9″ x 13″ baking pan.
- Cube the angel food cake and place over the candy bar pieces.
- Make the pudding according to package directions. After the pudding has set for 2 minutes, mix in the whipped topping.
- Place the pudding mixture over the angel food cake, then top the rest of the dessert with the remaining Butterfinger pieces.
- Cool in the refrigerator. Enjoy.
Notes
- Use store-bought angel food cake for speed. Crush Butterfinger bars finely; reserve some for topping. Layer cake pieces, crushed candy, and whipped topping (thawed Cool Whip works). Press gently. For extra richness, mix cream cheese into whipped topping. Chill at least 4 hours or overnight for firmer set. Use a springform pan for clean slices. Keep refrigerated.