My First Rhubarb Surprise
I still laugh when I think about the first time I made rhubarb bars. I was a young girl, helping my grandma in her garden. She pointed to those tall, pink stalks and said, “Pick these, dear.” I thought they were red celery. I bit right into one. My face puckered up so hard my eyes watered. Grandma just chuckled and said, “That’s why we add sugar, honey.” Doesn’t that memory make you smile?
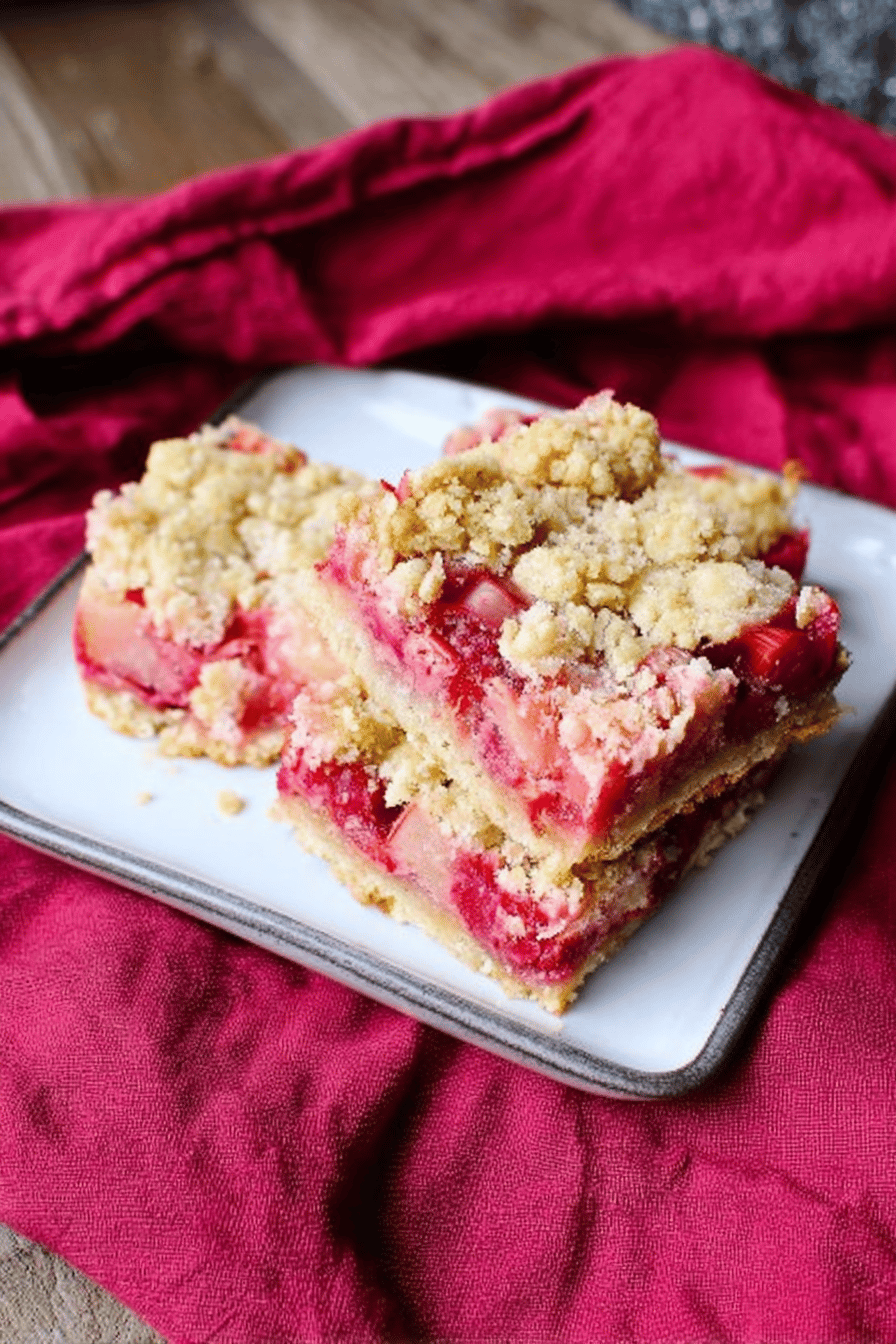
Those sour stalks taught me something important. Rhubarb needs a sweet friend to shine. That’s why these oat crumble bars are so perfect. The tangy rhubarb and the sweet, buttery oat crust get along like old pals. Have you ever tasted rhubarb in a dessert? What did you think?
Building the Crust and Crumble
The first step is simple. You mix flour, oats, and sugar in a bowl. Then you cut in cold butter until the mixture feels like crumbly sand. I love pressing half of it into the pan. My grandma always said, “Press it firm but gentle, like you’re tucking a child into bed.” That stuck with me.
You bake that bottom layer for just ten minutes. While it cools, you chop your rhubarb into small, even pieces. This little wait is worth it. A pre-baked crust stays crisp, even when the juicy rhubarb sits on top. That’s a why-this-matters tip: a short bake now saves you from a soggy mess later. Do you usually pre-bake your crusts, or do you skip that step?
The Tangy Heart of the Bar
Now comes the fun part. You toss the chopped rhubarb with sugar and a little cornstarch. The cornstarch helps thicken the juice as it bakes. Spread the rhubarb over your warm crust. Then sprinkle the rest of your oat mixture on top. Press it down lightly with your fingers.
Here is a hard-learned lesson from my own kitchen: rhubarb leaks a lot of juice. If you spoon the rhubarb straight from the bowl, you might get too much liquid. Use a slotted spoon instead. That way the extra syrup stays in the bowl, not in your bars. This one trick keeps your bars from getting soggy. Why does this matter? Because a firm, sliceable bar tastes ten times better than a mushy one. Have you ever had a bar fall apart because of too much juice? I sure have.
Patience Pays Off in the Oven
Pop the pan into a 350°F oven. Bake for 35 to 40 minutes, until the top is golden and the rhubarb bubbles around the edges. Your kitchen will smell like a warm hug. I always peek through the oven door and take a deep breath. Doesn’t that smell amazing?
But here’s the hardest part: you must let the bars cool completely before cutting. I know, I know. You want a warm bar right away. But warm rhubarb is runny. If you cut too soon, the bars will slide apart. Waiting an hour or so lets the filling set. That’s another why-this-matters moment. Patience gives you clean, beautiful squares. Which do you prefer: warm and messy, or cool and neat?
A Little Rhubarb Fun Fact
Did you know rhubarb is actually a vegetable, not a fruit? In 1947, a U.S. court decided it could be called a fruit for tax purposes. That’s because people mostly use it in sweet pies and jams. So we treat it like a fruit in the kitchen. *Fun fact: Rhubarb leaves are poisonous, so always use just the stalks.* I always snip the leaves off before I even wash them. Safety first, but sweetness second.
These bars are perfect for a spring afternoon snack. They keep well in the fridge for a few days. I like to share them with neighbors and watch their faces light up. Have you ever tried rhubarb in a crumble or a bar? I’d love to hear your favorite way to use it. Drop a comment or send me a note — I read every one.
Instructions
Step 1: Preheat your oven to 350°F. Grease a 9×9-inch pan with butter. Mix flour, oats, and sugar in a big bowl. Cut in cold butter until it looks like coarse crumbs. Doesn’t that buttery smell remind you of baking with Grandma?
Step 2: Press half the oat mixture into the pan. Bake it for 10 minutes, then let it cool a bit. While that happens, chop your rhubarb into small pieces. I always taste a piece first—it’s so tart it makes my eyes water!
Step 3: Toss the rhubarb with sugar and cornstarch. Spread it evenly over the baked crust. Sprinkle the rest of the oat mix on top and press lightly. What’s your favorite spring fruit? Share below!
Step 4: Bake for 35 to 40 minutes until the top is golden. The kitchen will smell like warm jam and crisp oats. (Hard-learned tip: Rhubarb leaks a lot of juice—use a slotted spoon when transferring it to avoid soggy bars!)
Step 5: Let the bars cool completely in the pan. This is the hardest part, I know. Once cool, cut them into 12 neat squares. They hold together much better when they’re not warm.
Creative Twists
… Swap half the rhubarb for chopped strawberries. They add sweetness and a pretty pink swirl.
… Sprinkle a handful of sliced almonds over the top before baking. Extra crunch makes everything better.
… Add a teaspoon of orange zest to the oat mixture. The citrus lifts the tangy fruit beautifully.
Which one would you try first? Comment below!
Serving & Pairing Ideas
Serve these bars with a scoop of vanilla ice cream. The cold creaminess balances the tangy rhubarb perfectly. Or enjoy them with a tall glass of cold milk for after-school snacking. You could even crumble one over a bowl of yogurt for a quick breakfast treat. Which would you choose tonight?
Keeping Your Rhubarb Bars Fresh
Let me tell you about the first time I made these tangy rhubarb oat crumble bars. I was so proud. I left them on the counter overnight. The next morning they were soft and sticky. Not my best moment.
Now I know better. Store your bars in an airtight container in the fridge. They will stay firm and tasty for up to five days. Why does this matter? Because cold stops the rhubarb from leaking more juice. That keeps the crumble crunchy longer.
You can also freeze them. Wrap each bar in wax paper, then pop them in a freezer bag. They last for three months. To reheat, just put a frozen bar in a 350°F oven for 8 minutes. It tastes almost fresh from the pan. Batch cooking is a lifesaver for busy weeks. Make a double batch, freeze half, and you have dessert ready anytime. Have you ever tried storing it this way? Share below!
Three Common Problems and Easy Fixes
I remember the first time I made these bars. The bottoms turned out like glue. What went wrong? I had pressed the crust too hard. Press just lightly so the oats stay crumbly. That’s one fix.
Problem two: soggy bars. The recipe warns you—rhubarb leaks juice. Use a slotted spoon to lift the rhubarb onto the crust. Leave the extra liquid behind. This protects your crunchy top. Why does this matter? Soggy bars lose that lovely texture contrast. Fixing it makes you feel like a real baker.
Problem three: bars fall apart when you cut them. Wait until they cool completely. I once cut too early and ended up with a pile of crumbs. Patience gives you clean, pretty squares. That builds confidence for your next batch. Which of these problems have you run into before?
Your Quick Questions
Can I use frozen rhubarb? Yes, you can. Thaw it first and drain the extra water. Frozen rhubarb holds more liquid than fresh. Press it dry with paper towels before mixing with sugar and cornstarch. That stops your bars from turning soupy. Your crumble will stay golden and crisp. I do this all winter long when rhubarb is out of season.
What if I don’t have cornstarch? Use all-purpose flour instead. Use the same amount—two tablespoons. Cornstarch thickens the rhubarb juice better, but flour works in a pinch. The bars will be a bit softer. Still delicious though. My grandmother used flour for decades. She never complained. Which tip will you try first?
Can I swap the oats for something else? Yes. Quick oats or old-fashioned oats both work. Avoid steel-cut oats—they stay too hard. If you want a gluten-free version, use certified gluten-free oats. The crumble will still be buttery and sweet. *Fun fact: Rhubarb is actually a vegetable, not a fruit, but we treat it like one in desserts.*
A Warm Goodbye from Lily Simmer
I hope you feel ready to make these tangy rhubarb oat crumble bars. They have a special place in my heart. Every time I bake them, I think of spring mornings and happy kitchen messes. Please drop a comment below. Tell me how your batch turned out. Have you tried this recipe? I would love to hear your story. Happy cooking!
—Lily Simmer

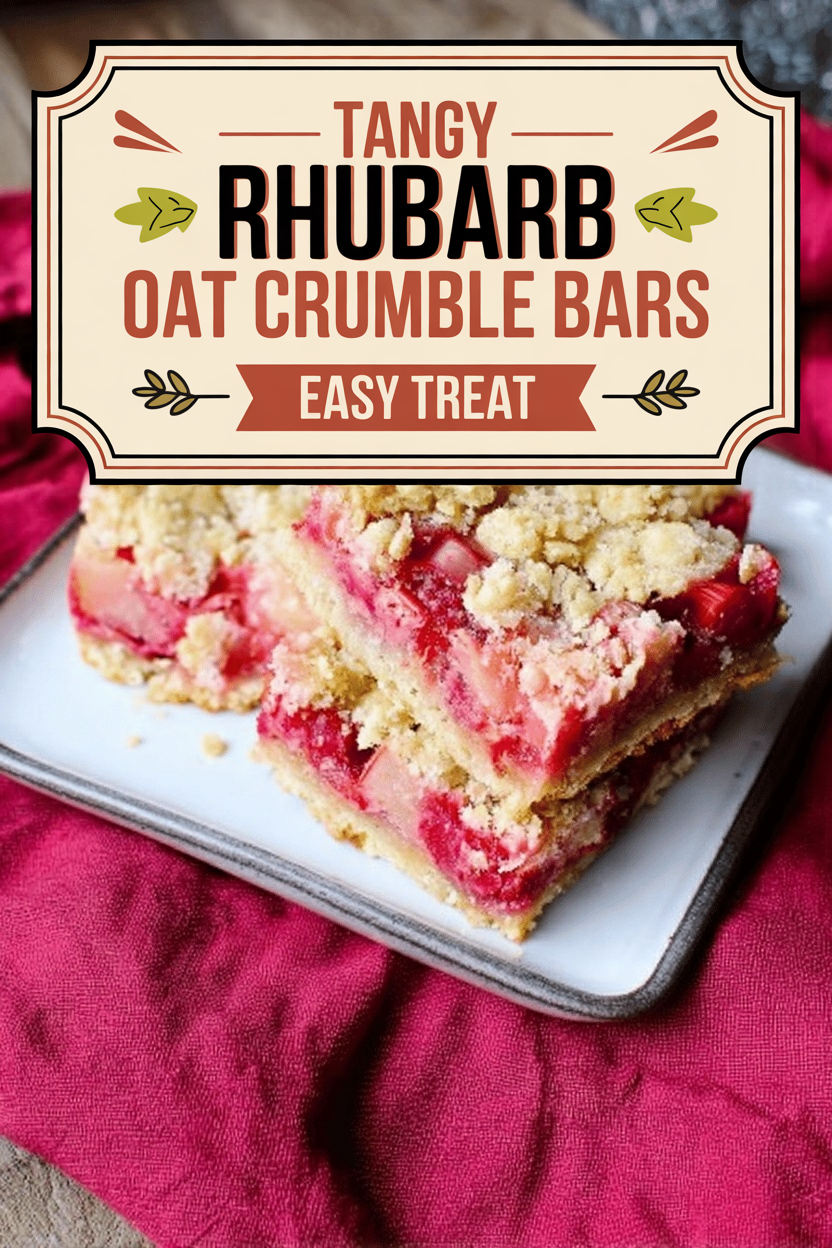
Tangy Rhubarb Oat Crumble Bars Easy Treat
Ingredients
Instructions
- Step 1: Preheat oven to 350°F. Grease a 9×9-inch pan. Mix flour, oats, and sugar in a bowl. Cut in butter until crumbly.
- Step 2: Press half the mix into the pan. Bake for 10 minutes. Let it cool slightly. Meanwhile, chop rhubarb into small pieces.
- Step 3: Toss rhubarb with sugar and cornstarch. Spread over the baked crust. Sprinkle the rest of the oat mix on top. Press lightly.
- Step 4: Bake for 35–40 minutes until golden. Cool completely before cutting. (Hard‑learned tip: Rhubarb leaks juice—use a slotted spoon to avoid soggy bars!)
Notes
- Chop rhubarb into ½-inch pieces; toss with sugar and cornstarch to reduce tartness. Let macerate 10 minutes. For crumble, use cold butter for a sandy texture. Press half firmly into pan, layer rhubarb, top with remaining crumble. Bake at 350°F until golden, about 40 minutes. Cool completely before slicing to set layers. Store in fridge for cleaner cuts.