The Apples That Changed My Mind
I used to think apple pie was the only way to show off fall apples. Then my neighbor Mildred brought over a dish of cobbler one chilly October evening. The top was golden and crunchy, and the apples were soft but not mushy. I took one bite and laughed out loud. It was better than any pie I’d ever made. Doesn’t that smell amazing? I still remember that night—the steam curling up from the pan, the smell of cinnamon filling her tiny kitchen. Have you ever had a dessert that totally surprised you?
Why this matters: Sometimes the simplest recipes hold the biggest heartaches and joys. Cobbler is forgiving. It doesn’t need fancy crimped edges or lattice tops. It just needs fruit and a little love. And that makes it perfect for any day, even a rushed Tuesday.
Picking Your Apples Like a Pro
You need about five pounds of apples for this cobbler. That’s nine to eleven big ones. I like to use a mix—some tart, like Granny Smith, and some sweet, like Honeycrisp. That way the filling has layers of flavor. *Fun fact: There are over 7,500 varieties of apples grown in the world. You could eat a new kind every day for twenty years.*
When you slice them, aim for thin pieces—about as thick as a coin. Toss them in lemon juice and zest right away so they don’t turn brown. Take your time. I often sit at the kitchen table peeling apples while my grandson tells me about his day. That quiet time matters as much as the dessert. What kind of apples grow near you? I’d love to know.
The Secret to a Not-Too-Sweet Filling
Here’s something I learned the hard way: you can’t just dump in sugar and hope for the best. This recipe uses both white and brown sugar, plus a little flour to thicken the juices. The cinnamon and nutmeg give it warmth, and cardamom is optional but wonderful. I always taste the apples before they go into the oven. That’s your chance to adjust—add a pinch more cinnamon if you’re feeling bold.
Why this matters: Cooking the apples on the stove first makes them tender without turning into applesauce. You stir every few minutes and watch them soften. When you take them off the heat right at “fork tender,” they keep their shape in the oven. That little bit of patience is what separates good cobbler from unforgettable cobbler. I still crack up remembering the time I forgot to stir and ended up with apple mush. Live and learn, right?
Making the Topping That Steals the Show
The topping is like a giant, soft sugar cookie—but better. You mix flour, sugar, salt, and baking powder. Then add buttermilk and an egg. Stir just until a shaggy dough forms. A few dry spots are fine. Don’t overmix, or the topping will be tough. I use a pastry cutter because it feels old-fashioned and makes me think of my grandmother’s hands.
You spoon that dough over the warm apples, then scatter cold butter pieces on top. The butter melts into the dough as it bakes, creating little crispy edges. Then you sprinkle a bit of raw sugar for crunch. The first time I made this, my kids said the top tasted like carnival kettle corn. I still laugh at that. Do you have a favorite crunchy topping—crisp, crumble, or cobbler?
Baking Until Bubbly and Brown
The oven does the rest. Bake at 375°F for about 45 to 55 minutes. You want the topping golden brown and the filling bubbling up around the edges. If you want extra crunch, turn on the broiler for the last minute or two. Watch it like a hawk—it can go from perfect to burnt in a blink. I usually stand right there, holding my breath.
Let the cobbler rest for fifteen minutes after it comes out. That lets the juices thicken so they don’t run all over your plate. I know it’s hard to wait, especially with that buttery cinnamon smell filling the house. But trust me—the wait is worth it. What’s the hardest dessert for you to wait for?
The Only Way to Serve It
Scoop the warm cobbler into bowls. Then add a big scoop of vanilla ice cream. I mean a really big scoop. The melting cream mixes with the sweet, spiced juice and turns everything into a dream. In my opinion, ice cream is not optional here. It’s the main character’s best friend. Without it, the cobbler is just a fruit soup with a hat on.
Leftovers keep for two days at room temperature, loosely covered. After that, pop them in the fridge. But honestly, I rarely have leftovers. This cobbler has a way of disappearing fast. Maybe that’s the best sign a recipe is good—it makes everyone ask for seconds without even saying please. And that, my friend, is a kind of love you can taste.
Step 1: Peel and slice your apples thin, about 1/8 inch thick. Toss them right away with lemon juice and zest so they don’t turn brown. Mix in the sugars, flour, and spices until everything is coated. Cook them in a covered skillet over medium heat for about 20 minutes, stirring every few minutes. (I learned the hard way: always taste the apples before pulling off the heat!) What’s your favorite apple variety for baking? Share below!
Step 2: Whisk flour, sugar, salt, and baking powder in a big bowl. In a smaller bowl, beat the buttermilk and egg together. Pour the wet into the dry and use a pastry cutter to make a shaggy dough. Spoon this dough evenly over your cooled apple filling. It will look a little lumpy and that is perfect.
Step 3: Chop cold butter into tiny pieces and scatter them over the topping. Sprinkle with a little extra sugar for crunch. Bake at 375 degrees F for 45 to 55 minutes, until the top is golden and the filling bubbles. For a crispy top, broil it for a minute or two — just watch it like a hawk.
Step 4: Let the cobbler cool for about 15 minutes so the juices set. Scoop it into bowls and add a big scoop of vanilla ice cream. The warm cobbler with melting ice cream is the best part. Store leftovers loosely covered for up to two days.
Creative Twists
…Add a handful of chopped pecans or walnuts to the cobbler topping for extra crunch.
…Swap half of the apples with ripe pears for a softer, sweeter filling.
…Stir a teaspoon of orange zest into the apple mixture for a bright citrus note.
Which one would you try first? Comment below!
Serving & Pairing Ideas
Serve this cobbler warm with a drizzle of caramel sauce and a pinch of flaky sea salt. The salt brings out the sweetness. A scoop of cinnamon ice cream instead of vanilla is a cozy twist. Or go classic with a big dollop of whipped cream and a dusting of nutmeg. Which would you choose tonight?
Storing and Reheating Your Cobbler
Got leftover cobbler? Lucky you. Let it cool completely first, then cover the dish tightly with foil. You can keep it on the counter for two days, but after that, move it to the fridge. It will stay good for about four more days there.
For longer storage, freeze the cobbler. Wrap the whole dish in plastic wrap, then foil. It will keep for three months. To reheat, thaw it in the fridge overnight. Then warm it in a 350°F oven for about 15 minutes.
I once stored a cobbler in the fridge for a week. I thought it would be mushy, but the flavors got even deeper. The topping turned a bit soft, but a quick broil fixed that right up. Fun fact: Apples float because they are 25% air.
Batch cooking this cobbler is a smart move. Make two at once and freeze one for a busy night. Having a dessert ready to go takes stress off your shoulders. Have you ever tried storing it this way? Share below!
Three Common Cobbler Fixes
Problem one: Soggy topping. This happens when the apples release too much juice. Fix it by cooking the filling a few extra minutes to thicken it. I remember my first cobbler was soupy. Now I let the filling bubble for a full 20 minutes.
Problem two: Hard, dry topping. That means you added too much flour or overmixed the dough. Stop mixing as soon as a shaggy dough forms. A few dry spots are just fine. Gentle hands make a tender topping.
Problem three: Burnt edges but raw middle. Your oven runs hot or the dish was too full. Lower the oven by 25 degrees and bake five minutes longer. Why this matters: Fixing these issues builds real cooking confidence. You learn to trust your eyes and feel for doneness.
Another reason to tackle these problems: Flavor improves. A properly cooked cobbler has sweet, tender apples and a crispy, buttery top. Each bite tastes exactly how you imagined. Which of these problems have you run into before?
Your Quick Questions
Why does this recipe use buttermilk in the topping?
Buttermilk adds a gentle tang that balances the sweet apples and brown sugar. It also reacts with the baking powder to make the topping light and fluffy. The acid in buttermilk tenderizes the gluten, so your topping stays soft instead of tough. If you do not have buttermilk, mix one cup milk with one tablespoon lemon juice and let it sit for five minutes. The result is nearly the same. That tangy flavor pairs perfectly with the warm cinnamon and vanilla in the filling.
Can I swap the apples for another fruit?
Yes, you can use pears, peaches, or even frozen berries. If using frozen fruit, do not thaw it first. Add it straight to the skillet and cook a few extra minutes. The lemon juice and zest help keep lighter fruits from turning brown. Just remember that different fruits have different water content. Peaches are juicier than apples, so you might need to add an extra tablespoon of flour to the filling. Taste the filling before baking and adjust sugar if the fruit is very tart. Vanilla and cinnamon work well with most fruits, but try a pinch of ginger with pears for a special twist.
What if I don’t have fresh lemon juice?
You can use bottled lemon juice in a pinch, but fresh juice gives a brighter flavor. The acid in lemon juice stops the apples from turning brown as you slice them. It also balances the sweetness of the brown sugar and white sugar. If you have no lemon at all, try using white vinegar or apple cider vinegar. Use just two teaspoons mixed with a little water. The vinegar taste will cook away, leaving only a gentle tang. The most important thing is that some acid touches the apples right after you peel them. This keeps them looking pretty for the cobbler. Which tip will you try first?
A Warm Goodbye from Lily
I hope this apple cobbler brings you the same cozy joy it brings my family. There is nothing like pulling a bubbling, golden dessert from the oven on a cool evening. The smell of cinnamon and brown sugar fills the whole house. Please let me know how your cobbler turns out. Have you tried this recipe? Drop a comment below with your favorite fruit swap or topping trick. I read every single one and love hearing from you. Happy cooking!
—Lily Simmer

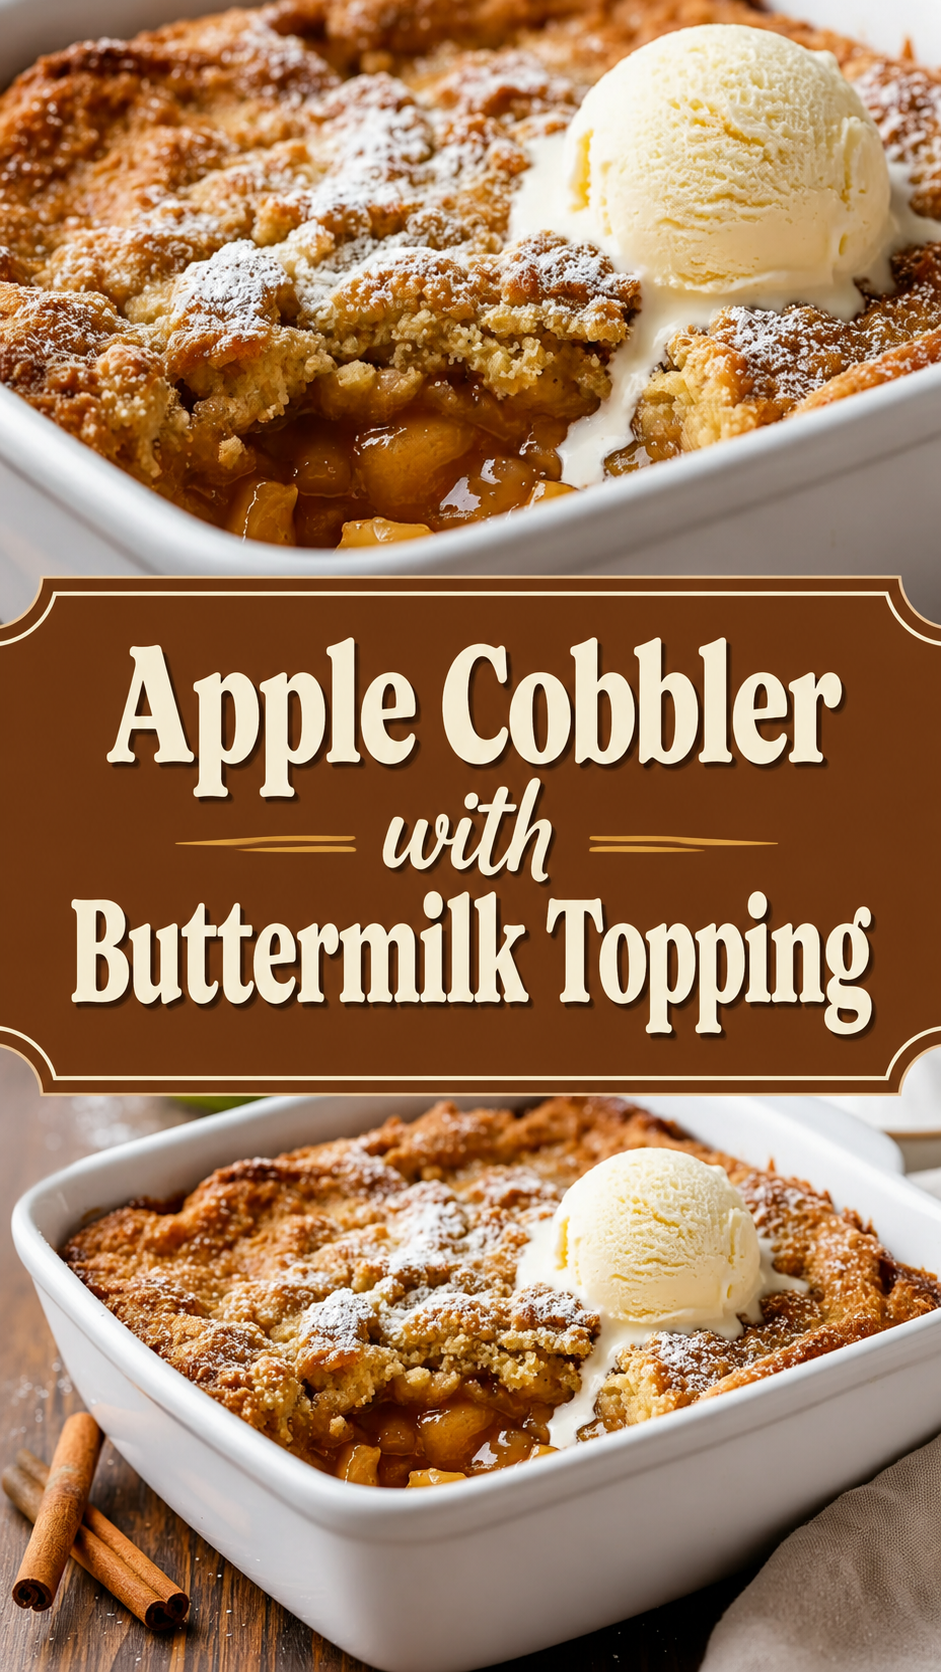
Apple Cobbler with Buttermilk Topping
Description
A warm and delicious apple cobbler with a buttermilk topping, perfect for dessert.
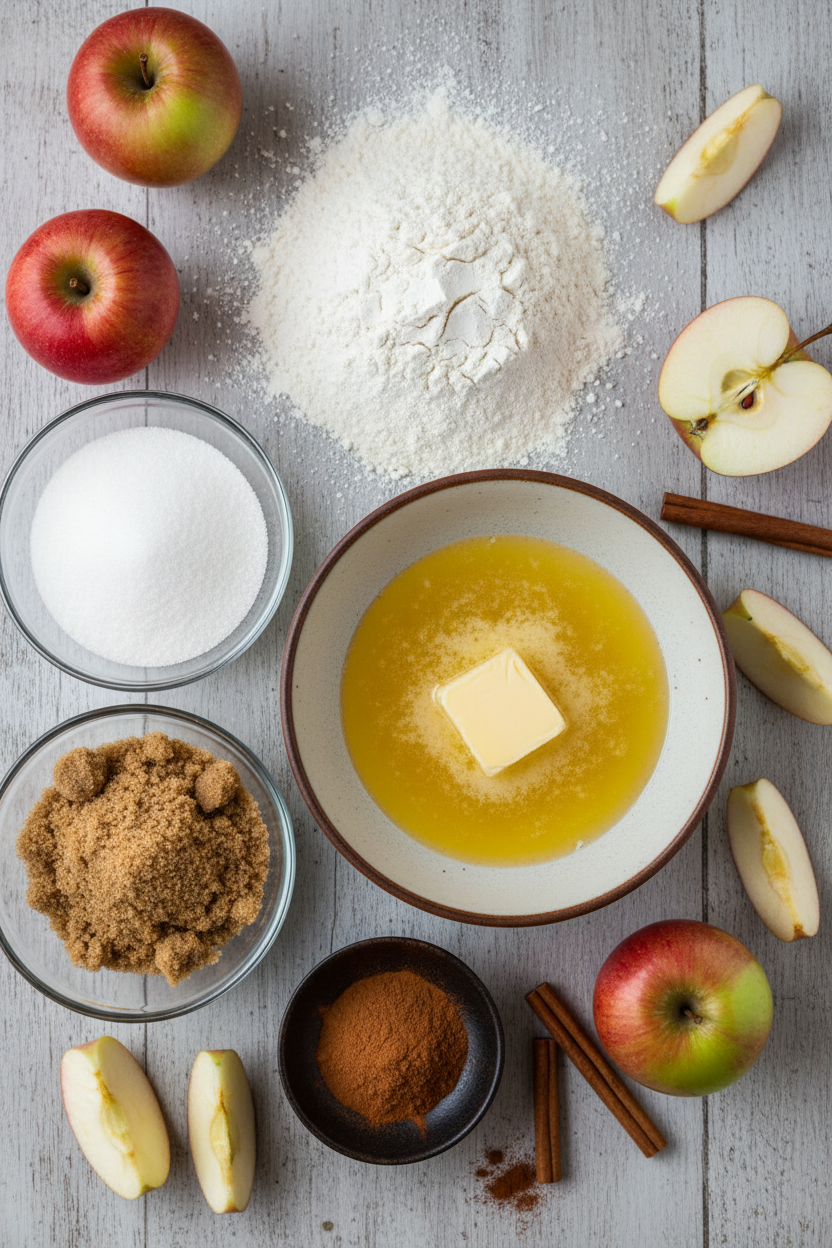
Ingredients
For the apple filling:
For the cobbler topping:
For serving:
Instructions
- Peel all the apples and thinly slice them to about 1/8 inch thick.
- Zest the lemon and squeeze out the juice into a high-sided 12-inch skillet.
- As you peel and slice the apples, toss them with the lemon juice and zest to prevent browning.
- Once all apples are added, sprinkle granulated sugar, brown sugar, flour, cinnamon, nutmeg, cardamom (if using), and kosher salt over the apples.
- Gently stir everything together (to avoid breaking the apples).
- Set the skillet over medium heat, cover, and cook for about 20 minutes, stirring every 3 minutes, until apples are fork tender but still hold their shape.
- Taste for your preferred level of doneness.
- Remove from heat and stir in the vanilla extract.
- Transfer the cooked apple mixture and all juices into a 9×13 inch casserole dish and let cool for a few minutes.
- I always taste the apples before pulling off the heat—making sure they’re just soft enough for your perfect bite is the secret to superb cobbler.
- Preheat your oven to 375°F (190°C).
- In a large bowl, whisk together flour, sugar, kosher salt, and baking powder.
- In a separate bowl, whisk buttermilk and egg, then add to the dry ingredients.
- Use a pastry cutter or a fork with a cutting motion to blend until a shaggy dough forms (a few dry spots are okay).
- Spoon or pour this flour mixture evenly over the cooled apple filling in the casserole dish.
- Chop the cold butter into 1/2-inch pieces and scatter evenly over the cobbler topping.
- Sprinkle the top with sugar (using a mix of granulated and demerara/raw sugar if desired for crunch).
- Bake in the preheated oven for 45-55 minutes, until the topping is light brown and the filling is bubbling all over.
- For extra crunch, broil the cobbler for 1-3 minutes at the end, watching closely to avoid burning.
- I love to finish under the broiler—just keep a close eye so it gets perfectly crispy without burning.
- Let the cobbler cool for about 15 minutes before serving so the juices set.
- Spoon the warm cobbler into bowls or onto plates and top generously with vanilla ice cream.
- In my opinion, vanilla ice cream is absolutely essential for turning this cobbler into a dreamy dessert!
- Enjoy fresh and warm.
- Store leftovers loosely covered at room temperature for up to 2 days, then transfer to the fridge if keeping longer.
Step 1: Prepare and Cook the Apple Filling
Step 2: Make the Cobbler Topping
Step 3: Top and Bake the Cobbler
Step 4: Serve the Cobbler
Notes
- Estimated nutrition for the whole recipe (without optional ingredients): Calories: 3900-4200, Protein: 30-36 g, Fat: 65-75 g, Carbohydrates: 890-950 g