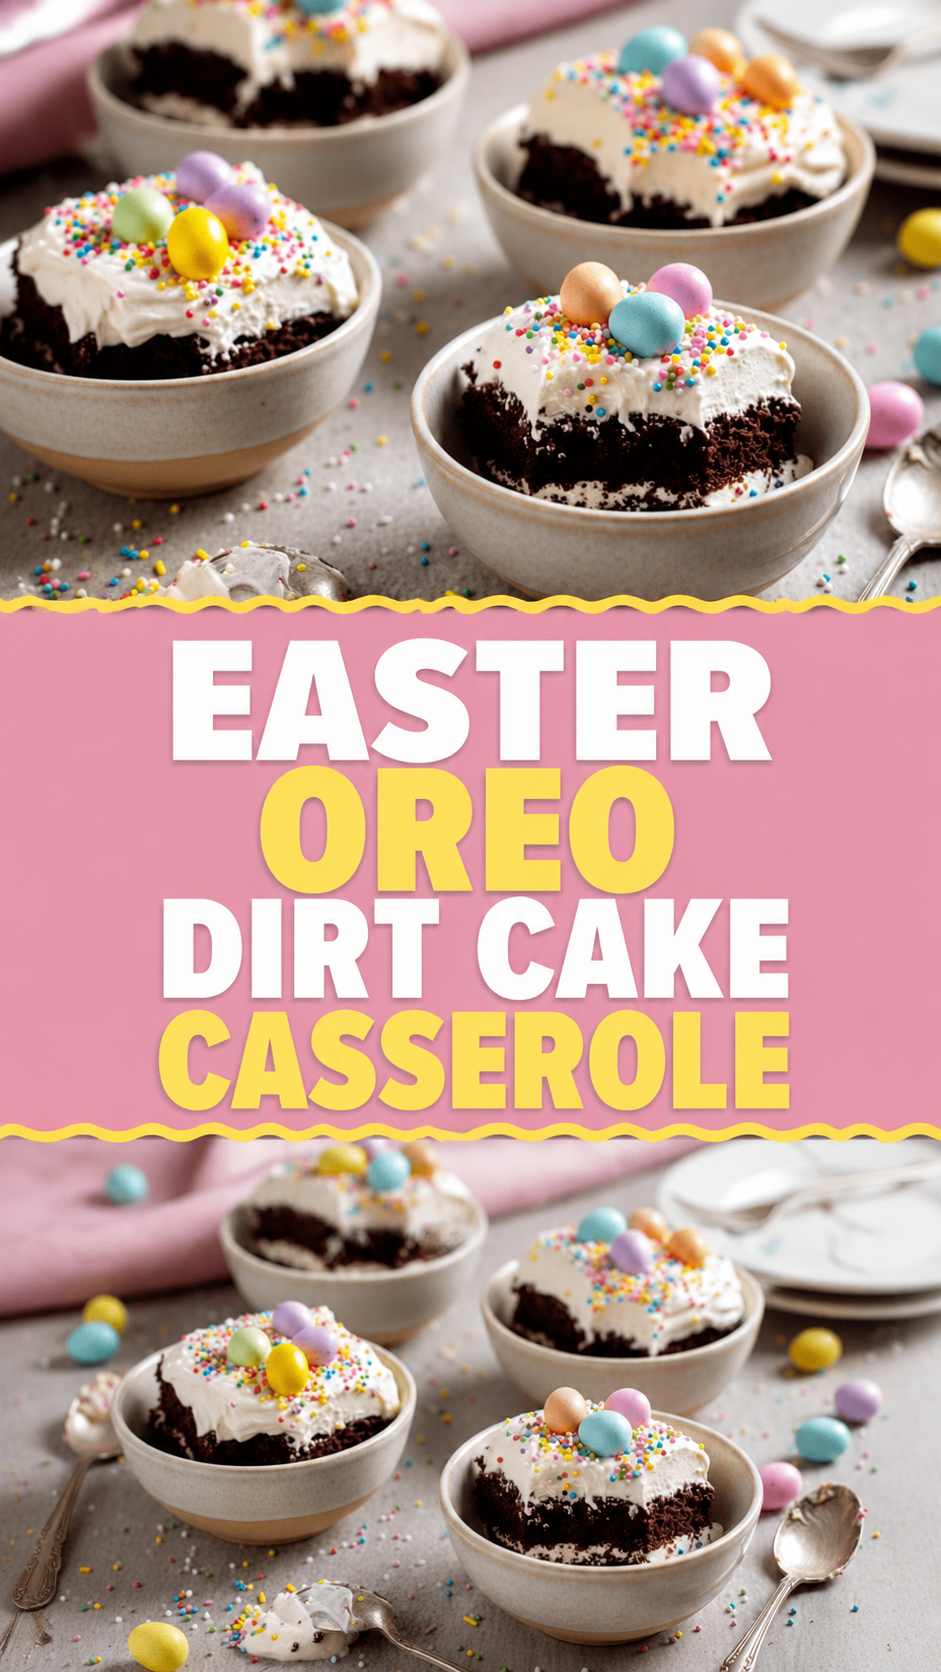
My First Easter Dirt Cake
I still laugh when I think about the first time I made this Easter Oreo Dirt Cake Casserole. I was in a rush and forgot to chill it. My family called it “Easter Soup.” We ate it with spoons anyway. It was still good, just messy.
Now I always give it time to set. That waiting makes all the difference. Have you ever ruined a dessert because you were too hungry to wait? I know I have.
Why We Love This Dessert
This isn’t just a pretty Easter dish. It is a no-bake casserole that kids can help make. No oven needed. No hot pans. Just mixing, layering, and patience.
Why does that matter? Because cooking together is how memories stick. When you crush Oreos with a rolling pin, you are making more than crumbs. You are making laughter. That is the real sweetness here.
The Secret to Perfect Crumb Layers
Crushing the Oreos is the most fun step. You can use a food processor or a sturdy bag and a rolling pin. I like the bag method because it lets me take out my frustration. But do not grind them into dust.
Slightly uneven crumbs make the layers look natural, like real dirt in a garden. *Fun fact: The first “dirt cake” recipe appeared in a 1970s church cookbook. It was meant to look like a flowerpot.* That is why we keep the texture chunky.
Getting the Cream Cheese Right
Softened cream cheese is the key. If it is too cold, you will get lumps. I once tried to rush and used cold cream cheese. The filling looked like cottage cheese. Not pretty.
Why does smooth cream cheese matter? Because it gives the filling a silky feel. That soft texture balances the crunchy Oreos. Let your butter and cream cheese sit out for an hour first. Trust me, it is worth the wait.
Layering Like a Pro
When you build layers, do not press hard. A gentle touch keeps each stripe separate. I like using a glass dish so everyone can see the layers. It feels like a treasure map you get to eat.
Do you have a favorite dish for layering desserts? I love using a deep trifle bowl because it shows three or more layers. Share your dish story in the comments below.
Patience Makes It Perfect
Chilling for at least two hours is not a suggestion. It is the secret to clean slices. The crumbs soften just enough, and the filling firms up. If you rush, you get a puddle.
Why does this matter? Because a well-set casserole is easier to serve at a party. Plus, you can make it the day before. That means less stress on Easter morning. Would you rather cook everything on the day or prep ahead? I am team prep-ahead.
Making It Your Own
This recipe is a starting point. You can swap the pastel candies for jellybeans or chocolate eggs. You can add a layer of fresh berries. One year I put gummy worms in the middle. The kids screamed with joy.
That is the best part of cooking. You get to play. I would love to hear your twist on this Easter Dirt Cake Casserole. What would you add or change? Tell me in the poll — crunchy candy or soft fruit? I am curious which side wins.
Instructions
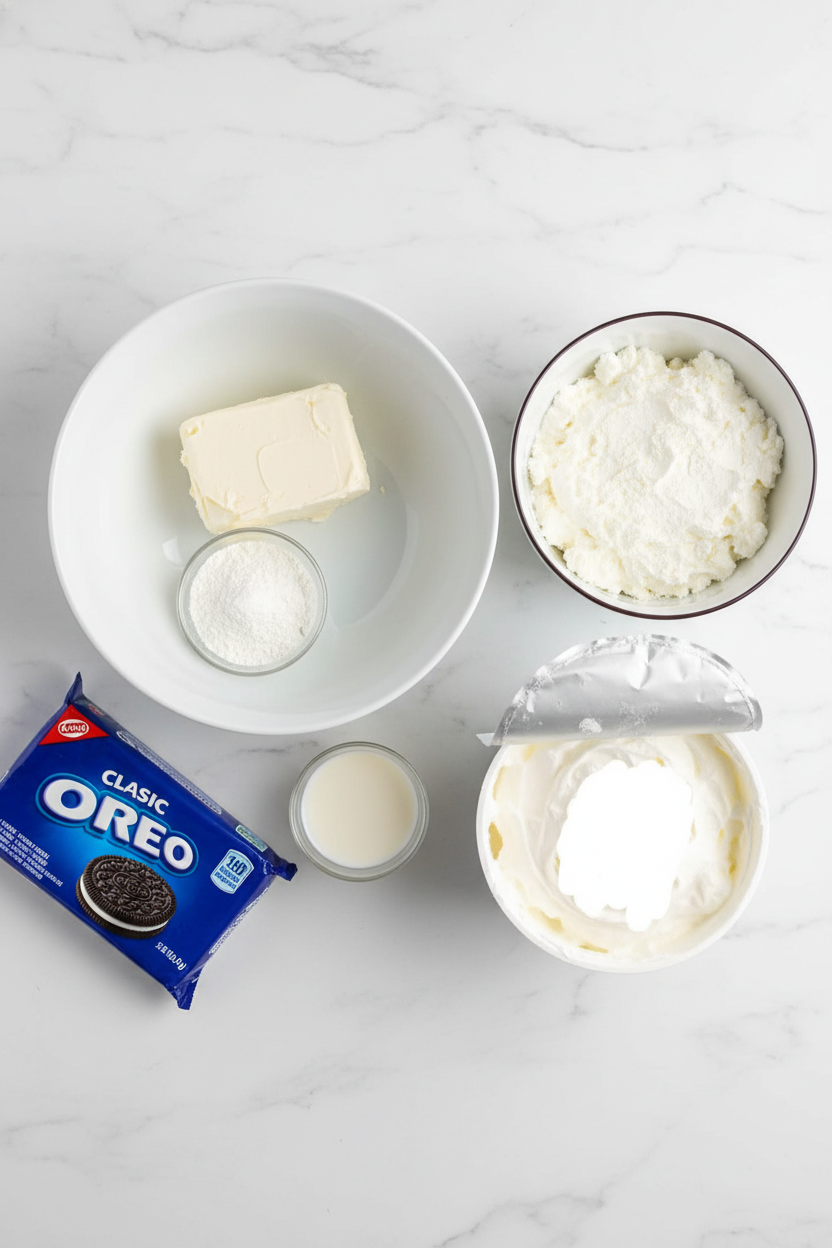
Step 1: Place the Oreo cookies in a food processor and pulse until coarse crumbs form. You can also seal them in a bag and crush with a rolling pin. Set aside a little for the top. (Try not to grind the cookies into a fine powder – uneven crumbs give a better texture.)
Step 2: In a large bowl, beat softened cream cheese and butter until smooth and creamy. Add powdered sugar and beat until light and fluffy. In another bowl, whisk the milk and instant vanilla pudding mix until thick, then fold it into the cream cheese mixture. Finally, fold in the whipped topping gently. What is the secret to a silky filling? Share below!
Step 3: Spread a loose layer of crushed Oreos on the bottom of your dish. Add a layer of the creamy filling, then scatter some pastel candies and sprinkles. Repeat these layers until you reach the top, finishing with a smooth layer of filling. A light hand keeps the layers separate and pretty.
Step 4: Decorate the top with reserved cookie crumbs, whole Oreos, extra pastel candies, and rainbow sprinkles. Leave a little of the pale filling visible – that contrast makes the dessert look like a spring centerpiece. Keep it generous but not crowded.
Step 5: Refrigerate the casserole for at least 2 hours, longer if you can. The flavors meld and the crumbs soften just right. Serve it cold, scooping all the way through so every bite has crumbs, creamy filling, and candy. (Chilling longer helps the layers set firmly.)
Creative Twists
… Swap the vanilla pudding for chocolate pudding and use mint Oreos for a cool, double-chocolate twist.
… Add a layer of fresh sliced strawberries between the cream and crumbs for a fruity pop.
… Use gluten-free chocolate sandwich cookies and candies to make it safe for everyone at the table.
Which one would you try first? Comment below!
Serving & Pairing Ideas
Serve this casserole in a clear trifle dish so everyone can admire the layers. Pair it with a cup of cold milk or a scoop of vanilla ice cream on the side. For a holiday brunch, set it out next to fresh fruit and hot cross buns – the creamy sweetness balances the tangy fruit. Which would you choose tonight?
Storing Your Easter Dirt Cake
This casserole stays best in the fridge. Cover it tight with plastic wrap or a lid. It will keep for up to three days.
You can freeze it too. Scoop portions into freezer-safe containers. Thaw them overnight in the fridge before serving. The cookie crumbs will soften a little more, but the flavor stays sweet and creamy.
I remember my first dirt cake. I left it on the counter too long and the filling got warm. Now I always chill it right away. That one mistake taught me why cold storage matters. It keeps the layers clean and the texture fluffy.
Batch cooking this dessert is a lifesaver for Easter. Make it a day ahead. The flavors blend beautifully overnight. You save time and stress on the big day. Have you ever tried storing it this way? Share below!
Three Common Problems and Fixes
First problem: the filling turns runny. This happens when the cream cheese is cold. Fix it by letting cream cheese and butter sit out for 30 minutes before mixing. Room temperature ingredients blend smoothly.
Second problem: the layers get muddy and mix together. I once pressed the crumbs too hard. The cream pulled them up. The fix is simple. Spread crumbs loosely and add filling gently. This keeps your stripes pretty.
Third problem: the dessert is not firm enough to scoop. It needs more chill time. Refrigerate for at least two hours, but four is better. Patience gives you clean slices.
Why does this matter? Fixing these issues boosts your cooking confidence. You learn to trust your hands and your fridge. Also, a well-made dirt cake tastes richer. The textures stay balanced, and every bite is a joy. Which of these problems have you run into before?
Your Quick Questions
Can I use homemade whipped cream instead of whipped topping?
Yes, you can swap in homemade whipped cream. Whip one cup of heavy cream with two tablespoons of powdered sugar until stiff peaks form. Fold it into the filling the same way you would use whipped topping. The texture will be a little lighter and less stable, so chill the cake longer. Homemade cream adds a fresh, clean taste. It also avoids any artificial flavors. Just be sure to use it within two days. Which tip will you try first?
How far ahead can I make this dessert?
You can make this Easter Oreo Dirt Cake Casserole up to two days before serving. Cover it tightly and keep it in the fridge. The flavors deepen as the pudding and cream cheese mingle. The Oreo crumbs soften just enough for a tender bite. Do not add the candy topping until a few hours before serving, or the colors may bleed. Making it ahead saves you time on Easter morning and lets you enjoy the gathering more.
Can I use other cookies besides Oreos?
Yes, you can swap Oreos for chocolate wafer cookies, chocolate graham crackers, or even crushed brownies. The cookie crumb layer should be chocolatey and crunchy. Keep the texture coarse, not too fine. If you use a different cookie, adjust the sugar in the filling because some cookies are sweeter than Oreos. Taste the filling and add a little less powdered sugar if needed. The recipe will still hold together and taste delicious.
A Warm Goodbye and an Invitation
I hope this Easter Oreo Dirt Cake Casserole brings you happy memories. It is a simple dessert that feels like a hug from the kitchen.
*Fun fact: The first dirt cake was made in the 1970s and quickly became a potluck favorite.*
I would love to hear from you. Have you tried this recipe? Tell me in the comments how it turned out. Maybe share a photo of your layers! Happy cooking! —Lily Simmer.

Easter Oreo Dirt Cake Casserole
Description
A delightful no-bake Easter dessert with layers of crushed Oreos, creamy vanilla pudding, and pastel candies.
Ingredients
Instructions
- Place the Oreo cookies in a food processor and pulse until you have coarse crumbs. If you prefer, seal them in a sturdy bag and crush them with a rolling pin. Set aside a small amount for the final topping. Try not to grind the cookies into a fine powder. Slightly uneven crumbs create a better texture, and they also make the layers look more natural in the dish.
- Add the softened cream cheese and softened butter to a large mixing bowl. Beat until the mixture looks smooth and creamy, with no visible lumps. This step matters because a silky base leads to a silkier filling. If the cream cheese is too cold, the mixture can stay lumpy, so room-temperature ingredients help a lot here.
- Add the powdered sugar to the cream cheese mixture and beat again until the texture turns light and fluffy. At this stage, the filling base should taste sweet but not heavy. The tang from the cream cheese should still come through, which keeps the final dessert from tasting flat.
- In a separate bowl, whisk together the milk and instant vanilla pudding mix. Keep whisking until the pudding thickens. Let it stand for a minute or two. That quick rest gives it time to set slightly, which helps it blend into the cream cheese base without turning thin.
- Fold the prepared pudding into the cream cheese mixture. Stir gently until fully blended. Then fold in the whipped topping until the filling looks smooth, pale, and fluffy. Use a spatula instead of beating at high speed. Gentle folding keeps the texture lighter, which is one of the best parts of this Easter Dirt Cake Casserole.
- Spread a layer of crushed Oreo crumbs over the bottom of your casserole dish or trifle bowl. Cover the bottom evenly, but do not pack the crumbs down too firmly. A loose crumb layer works better because it keeps the dessert easy to scoop later.
- Spread a layer of the cream mixture over the cookie crumbs. Take your time and smooth it gently with a spatula. If you press too hard, the crumbs can pull into the filling. A light hand keeps the layers more distinct.
- Scatter a portion of the pastel candy-coated chocolates over the creamy layer. You can add a few sprinkles here too if you want color throughout the dish instead of just on top. These middle touches make the casserole feel more festive when served.
- Continue building the casserole with more crushed Oreos, more creamy filling, and more candy until the dish is full. Aim to finish with a smooth layer of filling on top. The number of layers will depend on the depth of your dish. A deeper bowl gives more dramatic layers, while a casserole dish gives wider, easier-to-serve bands.
- Top the finished casserole with the reserved cookie crumbs, whole Oreo cookies, extra pastel candies, and rainbow sprinkles. This is where the dessert becomes a true Easter centerpiece. Keep the topping generous, but still leave some of the pink or pale filling visible so the contrast stays pretty.
- Refrigerate the dessert for at least 2 hours. For the best texture, chill it longer if you can. As it rests, the layers settle and the flavors come together. The cookie crumbs soften just enough, while the filling becomes easier to slice or scoop neatly.
- Serve the casserole chilled with a large spoon. Scoop through all the layers so every portion includes cookie crumbs, creamy filling, and candy topping. If you are serving this at a holiday gathering, keep it cold until close to serving time. Since the recipe contains dairy, chilled storage is important.
Step 1: Crush the Oreo Cookies
Step 2: Beat the Cream Cheese and Butter
Step 3: Mix in the Powdered Sugar
Step 4: Prepare the Vanilla Pudding
Step 5: Combine the Filling Mixtures
Step 6: Start the First Layer
Step 7: Add the Creamy Filling
Step 8: Add Candy for Color and Crunch
Step 9: Repeat the Layers
Step 10: Decorate the Top
Step 11: Chill Until Set
Step 12: Serve Cold
Notes
- Crush Oreos finely for dirt texture. Mix instant vanilla pudding with milk until thick. Beat softened cream cheese, then fold in Cool Whip and pudding. Layer half Oreos, all pudding, remaining Oreos. Chill 4+ hours. Top with Easter candy (eggs, Peeps). Use clear dish to show layers. For firmer slice, chill overnight. Add gummy worms for fun.