My Favorite No-Bake Secret
I remember the first Easter I made these little jars. My granddaughter helped me press the crust down with a spoon. She got crumbs all over her nose. I still laugh at that.
No-bake desserts are a lifesaver when you have a full house. You don’t need to turn on the oven. That means more time for egg hunts and silly jokes. Have you ever tried a no-bake cheesecake before?
Why the Crust Matters So Much
That buttery crumb layer is the first bite. It gives you something crunchy against the smooth filling. It’s like a little secret waiting at the bottom of every jar.
Using graham crackers or digestive biscuits works perfectly. Just stir them with melted butter, sugar, and a pinch of salt. Press it down firm so it holds together. Think of it like building a tiny sandcastle. That firm base keeps everything from sliding around.
*Fun fact: Graham crackers were invented over 150 years ago by a minister who wanted people to eat more whole grains.*
The Creamy Heart of the Recipe
The filling is where the magic happens. You beat soft cream cheese with powdered sugar, vanilla, and a little lemon juice. Then you fold in fresh whipped cream. It gets so light and fluffy you could eat it with a spoon right there.
Why does this matter? Because folding whipped cream gently keeps the air bubbles in. That air makes the mousse feel like a cloud. If you stir too hard, you lose that softness. Take your time and be gentle.
I once forgot to chill my bowl before whipping the cream. It took forever to get stiff peaks. Now I always pop my bowl and beaters in the fridge for ten minutes first. Do you ever do that little trick?
Adding Color and Fun
Pastel colors make these jars look like spring in a cup. You can split the filling into a few bowls and tint each one a different shade. Pink, lavender, soft yellow. My youngest grandkid loves mint green best.
A few drops of gel food coloring go a long way. Start with just a dab. You can always add more. This is a great place to let little hands help. They feel proud when they see their own color swirl. Why not try making each jar a different color and let everyone pick their favorite?
The Decorating Party
Toppings are the best part. Sprinkle on pastel sprinkles. Nestle mini chocolate eggs on top. For a funny touch, make coconut grass by shaking shredded coconut with a drop of green food coloring.
Here’s another little story: one year my grandson hid a jelly bean in his jar and forgot about it. He bit down later and got a surprise. We all laughed. That’s why I say add toppings right before serving — so they stay crisp and hidden exactly where you put them.
Doesn’t that smell amazing when you open the jar? The vanilla, the lemon, the chocolate eggs. It’s like Easter morning all over again.
Why We Gather Around These Jars
These little desserts are easy to hand out. No slicing, no plates. Just a jar and a tiny spoon. That means everyone can grab one and sit outside or on the couch. It makes sharing feel simple and special.
Making them together teaches kids that cooking can be fun and forgiving. If the filling gets a little lumpy? It still tastes good. If the color comes out too dark? Call it sunset cheesecake. That’s why this recipe matters — it’s about joy, not perfection.
I’d love to hear what toppings your family loves most. Are you team jelly beans or chocolate eggs? Or maybe you add fresh berries? Tell me in your heart — I can almost hear the answers now.
Instructions
Step 1: Crush graham crackers into fine crumbs using a zip bag and rolling pin. Stir in melted butter, sugar, and a pinch of salt. The mix should feel like wet sand. (I learned the hard way: press the crust firmly, or it crumbles when you eat it.)
Step 2: Spoon 2–3 tablespoons of the crust into each jar. Press it down flat with the back of a spoon. This little step makes all the difference later. Does your crust hold together like mine? Share below!
Step 3: In a cold bowl, whip heavy cream until soft peaks form. Pop it in the fridge while you make the cream cheese base. Cold cream whips up much fluffier. I still laugh at the time I used warm cream – what a soupy mess!
Step 4: Beat softened cream cheese, powdered sugar, vanilla, and lemon juice until smooth. This takes about one minute with a hand mixer. Scrape the bowl well so no lumps hide.
Step 5: Gently fold the whipped cream into the cream cheese mixture in two parts. Keep folding until no white streaks remain. Don’t stir hard – you want it light and airy.
Step 6: If you want pastel colors, divide the filling into bowls and add a drop of gel food coloring. A little goes a long way. Pipe or spoon the filling into your jars over the crust. Leave a little room for toppings.
Step 7: Cover and chill the jars for at least 2 hours, or overnight. Before serving, top with coconut grass, sprinkles, and mini eggs. Hand them out with tiny spoons – the creamy, crunchy layers are pure spring joy.
Creative Twists
… Swap graham crackers for crushed shortbread cookies for a buttery crust.
… Stir in a pinch of cinnamon or nutmeg into the filling for a warm spice note.
… Use crushed freeze-dried berries on top instead of sprinkles for a tangy pop.
Which one would you try first? Comment below!
Serving & Pairing Ideas
Serve these jars with a side of fresh strawberries or a handful of pastel jelly beans. A small glass of cold milk or lemonade makes the perfect sip. For a fun party, set up a topping bar so everyone can decorate their own jar. Which would you choose tonight?
Storing Your Cheesecake Jars
These no-bake cheesecake jars are perfect for making ahead. Store them in the fridge for up to three days. Just cover each jar with a lid or plastic wrap. The crust stays crunchy if you wait to add toppings until serving. I remember my first batch. I added jelly beans right away and they turned sticky. Now I always decorate just before serving.
You can also freeze the jars without toppings. Wrap each one tightly in plastic wrap, then foil. Thaw in the fridge overnight. I once froze a batch for a spring picnic and they tasted just as fresh. Batch cooking saves you time on busy mornings. Double the recipe and freeze half. You will have dessert ready for any surprise guests. This matters because it reduces holiday stress. Batch cooking also saves money. You buy ingredients in bulk and use them up. It is a smart way to prepare for celebrations.
Have you ever tried storing it this way? Share below!
Fixing Common Cheesecake Problems
First problem: the crust falls apart. This happens when the butter-to-crumb ratio is off. Fix it by pressing the crust really firmly with the back of a spoon. I once used too little butter and the crumbs spilled everywhere. Now I always double-check the texture. It should feel like wet sand.
Second problem: the filling is too soft to pipe. That means your cream cheese was not cold enough or you overmixed. Keep your cream cheese at room temperature before beating. Fold the whipped cream gently. If it is still soft, chill the filling for 15 minutes before piping.
Third problem: the colors look muddy instead of pastel. Use gel food coloring one drop at a time. Stir slowly. I remember once I added too many drops and got bright neon instead of soft pink. Start light and build up. *Fun fact: gel colors are more concentrated than liquid, so a little goes a long way.*
Fixing these issues matters because it builds your cooking confidence. You learn to trust your senses. It also makes the flavor better. A stable crust and creamy filling create the perfect bite. Which of these problems have you run into before?
Your Quick Questions
Can I replace the graham cracker crumbs with something else?
Yes, you can use crushed digestive biscuits or vanilla wafer cookies. The amount stays the same. Just make sure they are finely crushed. The butter and sugar binding works the same. I have used gluten-free cookies too. The crust will still be crunchy and sweet. It matters because you can adapt to what is in your pantry. This flexibility lets you use leftovers and reduces waste. Always taste the crumb mixture before pressing. Adjust sugar if your cookies are already sweet.
My cream cheese turned lumpy. What went wrong?
Lumpy cream cheese often comes from being too cold. Let it sit out for 30 minutes before mixing. Beat it alone first until smooth before adding powdered sugar and vanilla. If lumps still appear, you can strain the mixture through a fine sieve. This tip matters because a smooth filling gives the best creamy texture. Lumps also make it hard to pipe neatly. Patience with softening the cream cheese saves a lot of frustration.
Which tip will you try first?
A Final Word from Lily Simmer
I hope these tips help you make the best Easter cheesecake jars. They are so fun to assemble with kids. The creamy layers and crunchy toppings bring smiles every time. Have you tried this recipe? I would love to hear how yours turned out. Share your photos and stories in the comments below. Happy cooking! –Lily Simmer

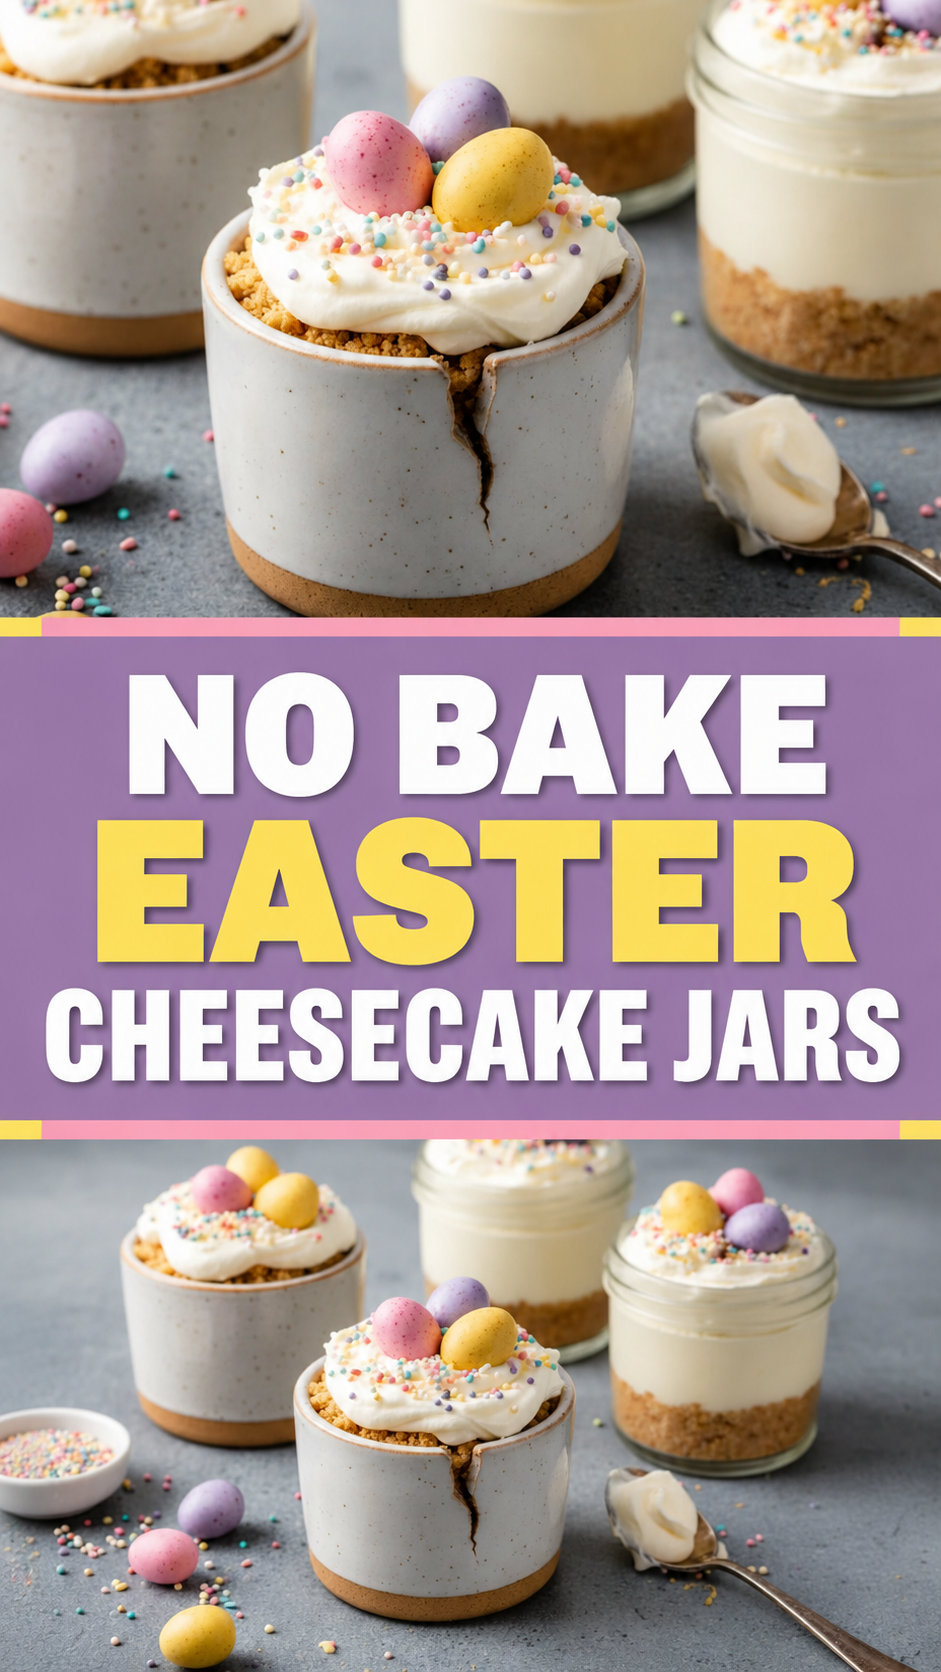
No Bake Easter Cheesecake Jars
Description
No-bake Easter cheesecake jars with a buttery graham cracker crust, creamy cheesecake filling, and festive toppings. Perfect for spring!
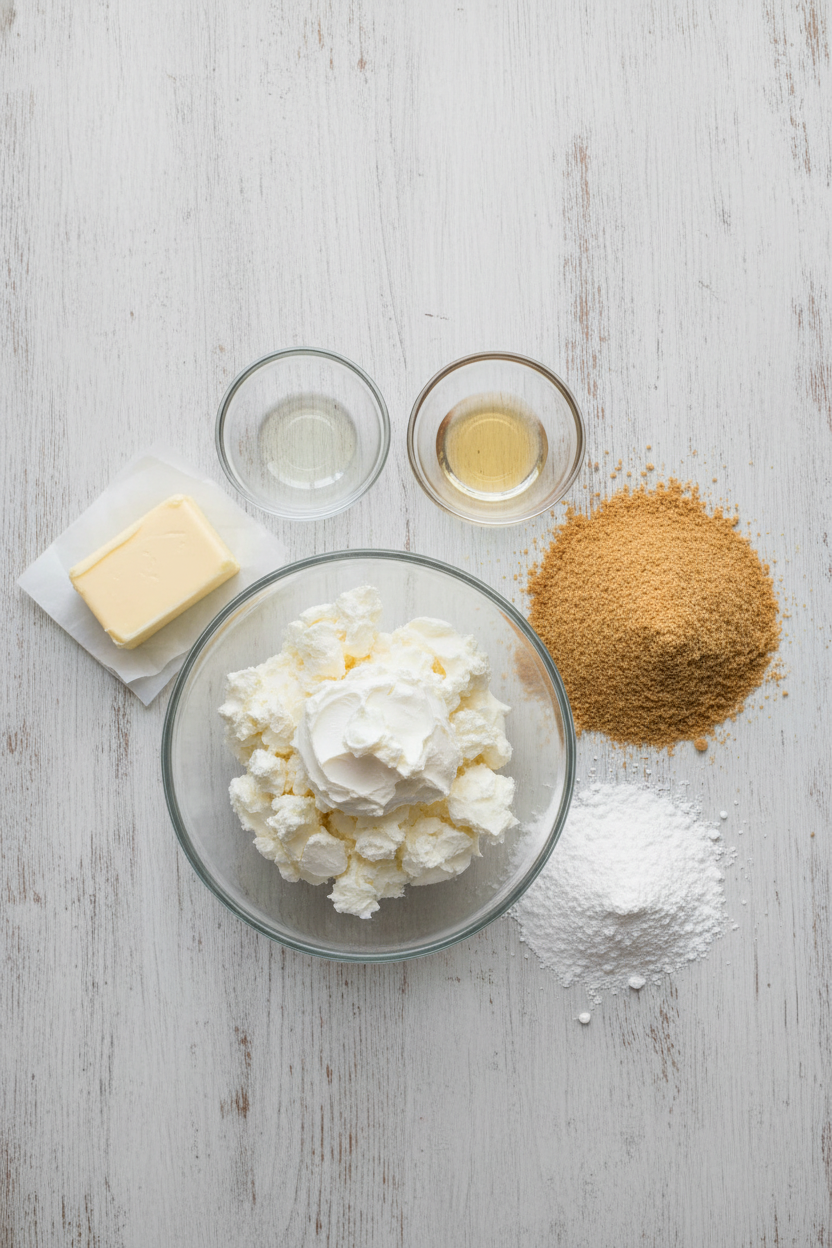
Ingredients
Crust:
Cheesecake filling:
Color and flavor (optional):
Toppings:
Instructions
- Make the crumb base: Stir graham crumbs, sugar, salt, and melted butter until the mixture looks like wet sand.
- Pack the crust: Spoon 2–3 tablespoons into each jar and press down firmly with the back of a spoon. Set aside.
- Whip the cream: In a cold bowl, whip heavy cream to medium-stiff peaks. Chill while you make the base.
- Beat the cream cheese: Mix softened cream cheese, powdered sugar, vanilla, and lemon juice until smooth and fluffy, 1–2 minutes.
- Fold it together: Gently fold the whipped cream into the cream cheese mixture in two additions until no streaks remain.
- Add color (optional): Divide the filling and tint with pastel gel colors. Keep it light for a spring look.
- Fill the jars: Pipe or spoon the cheesecake filling over the crust, leaving a little room for toppings.
- Chill: Cover and refrigerate for at least 2 hours, or up to 24 hours, to set.
- Decorate: Add coconut grass, sprinkles, and nestle in mini eggs right before serving so they stay crisp.
- Serve cold: Hand out with small spoons and enjoy the creamy, crunchy layers.
Prepare the Crust
Prepare the Cheesecake Filling
Assemble and Chill
Decorate and Serve
Notes
- Use room-temperature cream cheese for smooth texture.
- Crush cookies finely for crust.
- Layer filling, then fruit or candy.
- Chill jars at least 4 hours or overnight.
- Decorate with pastel sprinkles, mini eggs, or bunny Peeps.
- Substitute dairy-free alternatives if needed.
- Dip fruit in lemon juice to prevent browning.
- Equipment: 8–10 small jars (4–6 oz), mixing bowls, hand mixer, piping bag or spoon.