A Sweet Memory
I still remember the first time I made these bars. It was a rainy Sunday, and my grandson Ben was helping me in the kitchen. He kept sneaking mini marshmallows from the bag. I pretended not to notice.
We pulled the pan out of the oven, and the whole house smelled like toasted marshmallows. Ben said it was better than a campfire. I had to agree. Doesnt that smell amazing?
The Simple Secret
The recipe calls for heavy cream. It might sound strange, but trust me. A little drizzle over the chocolate makes everything extra gooey.
Why does this matter? The cream keeps the chocolate soft and melty, even after the bars cool. You wont end up with a hard chocolate layer. It stays like warm fudge.
Tell me, have you ever tried adding cream to a dessert like this? I would love to hear your tricks.
Building the Crust
The crust is simple. Graham cracker crumbs, melted butter, and brown sugar. You mix it until it feels like wet sand. Then press it firmly into the pan.
I use the bottom of a measuring cup to pack it flat. It is a small trick, but it helps the crust hold together. Bake it first for ten minutes. That first bake is important. It gives the crust a nice golden crunch.
Here is a *fun fact* for you: Graham crackers were invented in the 1800s as a health food. I guess someone thought they were boring, so now we pile chocolate and marshmallows on top. Works for me.
Why the Cream Matters
After the crust comes out of the oven, you sprinkle the chocolate chips on top while it is still hot. Then drizzle that heavy cream over the chocolate. It soaks in and melts everything together.
This is not just a fancy trick. It is a real secret. The cream stops the chocolate from seizing or turning grainy. You get a smooth, gooey layer that pulls apart in long strings. Yum.
Have you ever made a dessert where the chocolate turned weird? That cream would have saved you.
Toasting Like a Pro
Once the marshmallows are piled on top, you bake them until they puff up. Then comes the fun part: the broiler. Just thirty to sixty seconds, and watch them closely.
I once forgot and let them turn black. Ben still ate them, saying they tasted like campfire. He is a sweet kid. But I prefer golden brown. Doesnt that look prettier?
Why does this matter? The broiler gives you that toasty skin without melting the marshmallows flat. It is the best of both worlds: puffy inside, crispy on top.
Sharing the Gooey Goodness
Let the bars cool for about ten minutes before cutting. Use the parchment paper handles to lift them out. They are sticky and warm, so be careful.
I love serving these after a family dinner or on a rainy afternoon. They remind me of s’mores without the campfire mess. You can even add a pinch of sea salt on top if you like salty-sweet.
I would love to know: what is your favorite way to eat these? With a glass of milk, or maybe a scoop of vanilla ice cream? Let me know.
Instructions
Step 1: Preheat your oven to 350°F. Line a 9×13 pan with parchment paper, leaving handles. My grandma taught me that trick for easy lifting. (Hard-learned tip: Always use parchment, not wax paper – it will burn!)
Step 2: Mix graham cracker crumbs, melted butter, and brown sugar. Stir until it looks like wet sand. Press firmly into the pan. Use the bottom of a measuring cup to make it even.
Step 3: Bake the crust for 10 minutes until lightly golden. What color should the crust be? Share below!
Step 4: Remove from oven. Sprinkle chocolate chips evenly over the hot crust. Drizzle heavy cream on top for extra gooeyness. (Don’t skip the cream – it makes the chocolate melt into a fudge sauce.)
Step 5: Scatter mini marshmallows over the chocolate. Don’t press them down – let them sit fluffy. I still laugh at how puffed they get in the oven.
Step 6: Bake for 8-10 minutes until marshmallows puff up. Then broil for 30-60 seconds until golden. Watch closely – they burn fast! The smell will fill your kitchen.
Creative Twists
… Swap milk chocolate for dark chocolate chunks. It adds a rich, grown-up flavor.
… Sprinkle crushed pretzels on top before baking. Salty and sweet – my favorite combo.
… Add a layer of peanut butter chips under the marshmallows. Peanut butter and chocolate? Yes please!
Which one would you try first? Comment below!
Serving & Pairing Ideas
Serve warm with a scoop of vanilla ice cream. The cold and hot together is magic. Or cut into squares and drizzle with caramel sauce. For a party, stack them on a platter with fresh berries. Which would you choose tonight?
Storing Your Gooey Bars (So They Stay Gooey)
These bars are best the day you make them. But leftovers are a happy thing. I once made a whole pan for a potluck that got canceled. We had a week of sneaky kitchen snacks ahead of us.
Store the cooled bars in an airtight container at room temperature. Do not put them in the fridge. The fridge makes the marshmallows tough and the chocolate hard.
You can freeze them for up to a month. Layer the bars between sheets of wax paper in a freezer bag. To reheat, pop one on a plate for 10 seconds in the microwave. This brings back the soft, warm texture.
Batch cooking matters because it saves time later. You get a quick dessert without making a mess from scratch. Have you ever tried storing it this way? Share below!
Three Common Problems (And Easy Fixes)
First problem: the marshmallows burn under the broiler. I remember standing at my oven, watching a black cloud rise. It happened fast. The fix is to watch them like a hawk. Never walk away during that last minute.
Second problem: the crust crumbles when you cut the bars. This happens if you press your crust firmly enough. Use the flat bottom of a glass to really pack those graham cracker crumbs down tight.
Third problem: the chocolate layer doesn’t melt smoothly. The fix is the secret ingredient. Drizzle the heavy cream right over the hot chocolate chips. The cream helps everything get silky and gooey.
Fixing these issues builds your cooking confidence. You learn to trust your eyes and instincts. Your dessert tastes better because you know just what to do. Which of these problems have you run into before?
Your Quick Questions
Can I use regular butter instead of salted?
Yes, you can use unsalted butter. Just add a tiny pinch of salt to the graham cracker crumbs. That pinch balances the sweet marshmallows and chocolate chips. It also brings out the toasty flavor of the baked crust. Salt makes everything taste more like itself. If you skip it, the bars will be a little flat. That small pinch is a big helper for the whole recipe.
My marshmallows always puff up too much. What am I doing wrong?
You might be baking them too long on the first step. The final bake only needs 8 to 10 minutes. You want the mini marshmallows to puff, not explode. The heavy cream under them also helps keep things soft. When you switch to broil, the tops toast while the inside stays pillowy. Do not crowd the marshmallows either. A single even layer lets them puff without climbing over each other.
Can I use dark chocolate instead of milk chocolate?
Absolutely. Dark chocolate makes the graham cracker crust taste richer. Just add one extra tablespoon of heavy cream to the chocolate layer. Dark chocolate has less sugar, so it needs a little extra fat to stay smooth and gooey. The marshmallows will still give the bars plenty of sweetness. Use a chocolate bar you like eating on its own. That way you know the flavor will be good. Which tip will you try first?
Fun fact: The heavy cream helps prevent the chocolate from seizing. This keeps your bars silky and never grainy.
A Warm Goodbye (And an Invitation)
I hope these bars bring some sticky, happy moments to your kitchen. They remind me of campfire treats without the smoke. Just remember to watch that broiler closely.
I would love to hear how yours turn out. Did you use milk chocolate or dark? Did you sneak a square before they cooled? Have you tried this recipe? Drop a note in the comments so we can share our sweet stories together.
Happy cooking!
—Lily Simmer

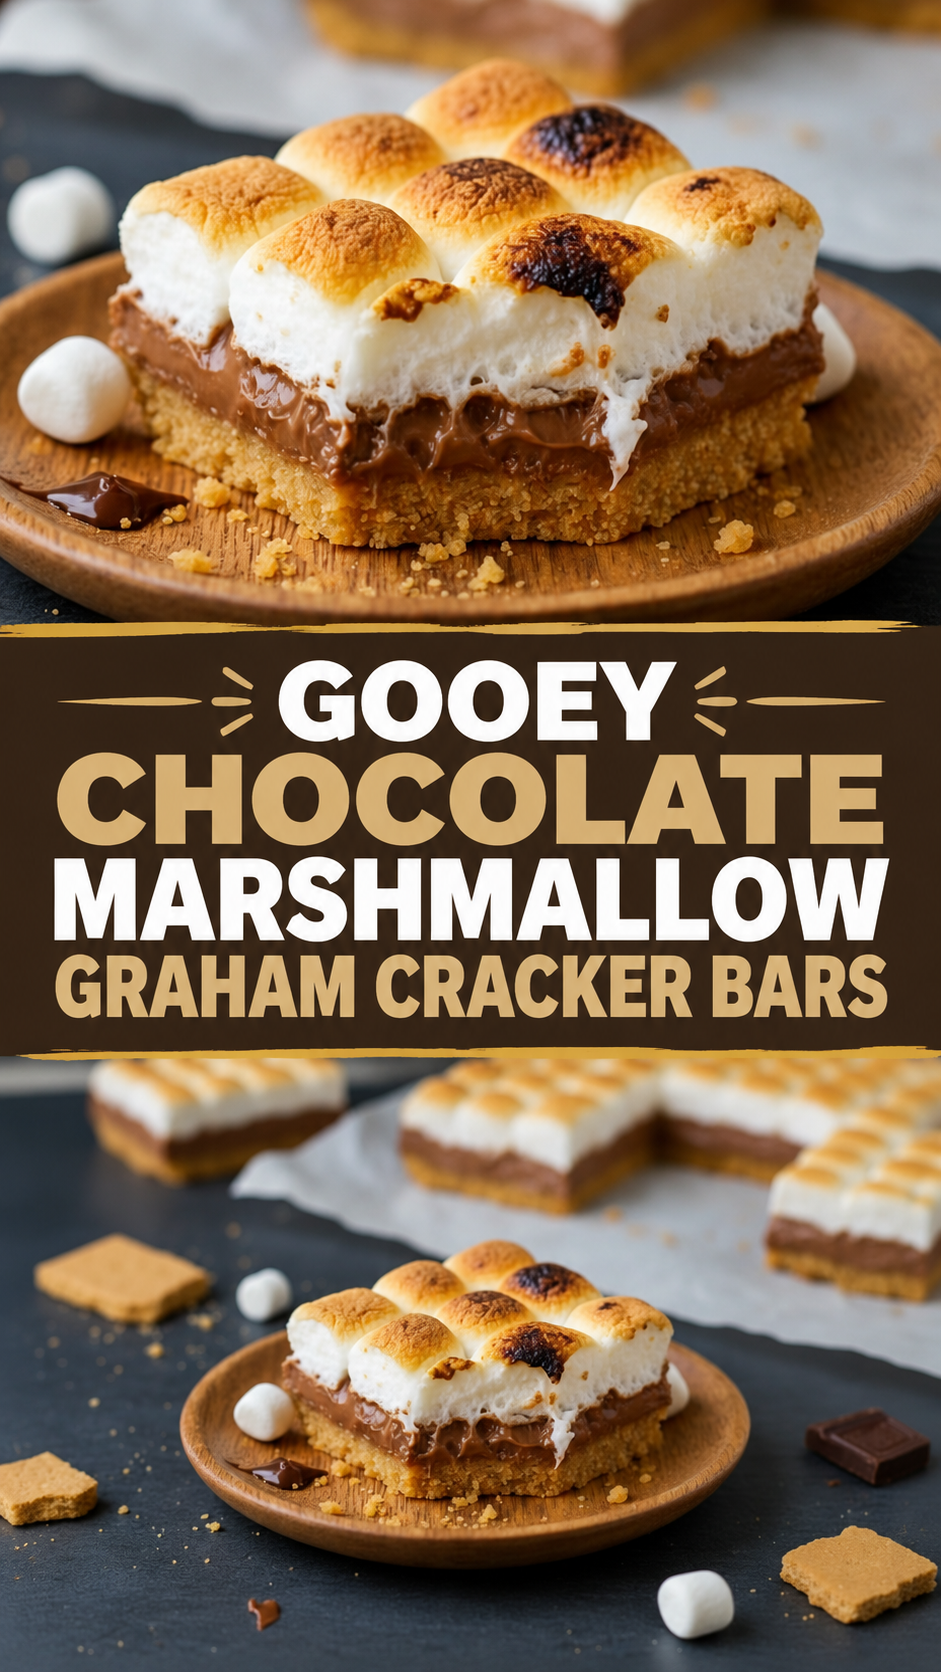
Gooey Chocolate Marshmallow Graham Cracker Bars
Description
Gooey Chocolate Marshmallow Graham Cracker Bars are rich, gooey, and perfectly toasted.
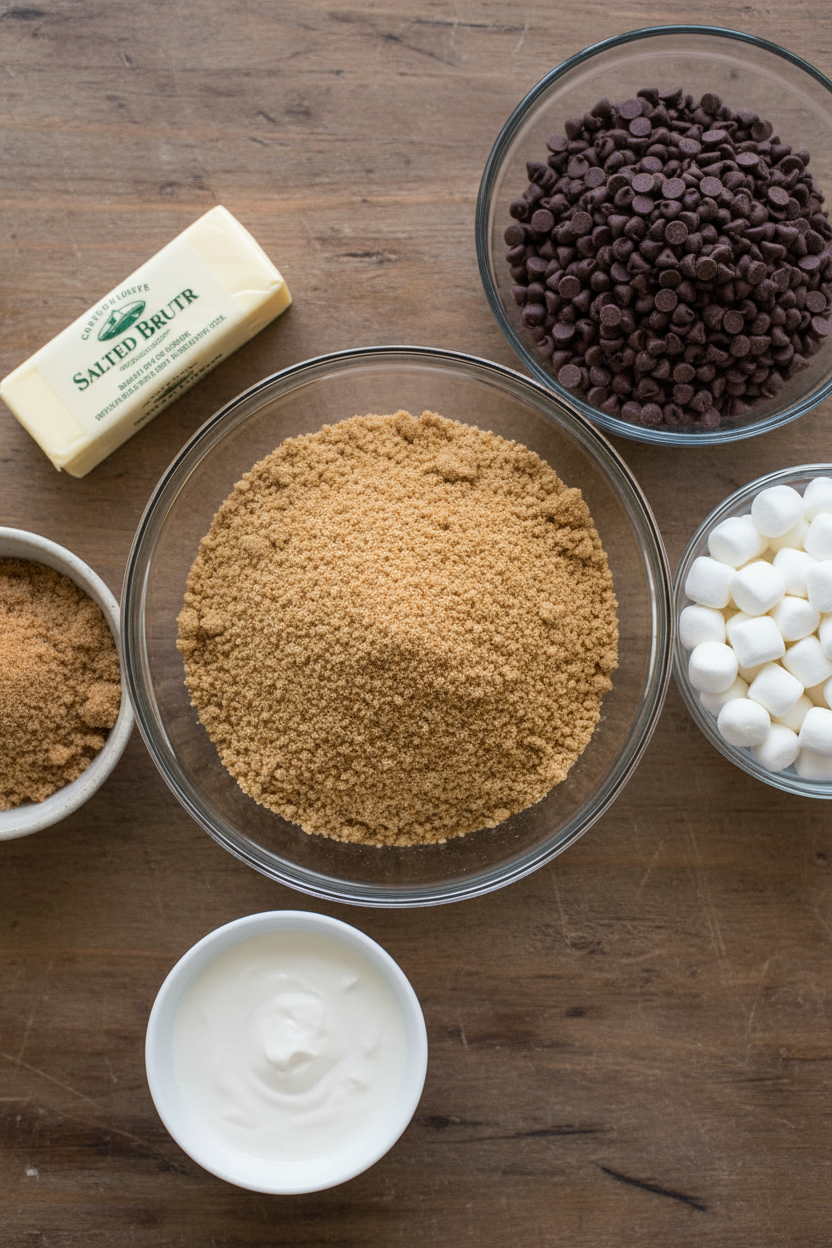
Ingredients
Instructions
- Preheat your oven to 350°F (175°C). Line a 9×13-inch baking pan with parchment paper, leaving 2-inch handles on opposite sides.
- In a large bowl, combine graham cracker crumbs, melted butter, and brown sugar. Mix until the mixture resembles wet sand and holds together when squeezed. Press firmly into your prepared pan, creating an even layer. Use the bottom of a measuring cup to ensure it’s properly compacted.
- Bake the crust for 10 minutes until lightly golden.
- Remove the pan from the oven and immediately sprinkle the chocolate evenly over the hot crust. For extra gooeyness, drizzle the heavy cream over the chocolate.
- Distribute mini marshmallows evenly over the chocolate layer. Don’t pack them down.
- Return to the oven for 8-10 minutes until marshmallows are puffed but not yet golden. Then switch to broil for 30-60 seconds until the marshmallow tops are golden brown and toasted. Watch carefully.
Step 1: Prep Your Pan & Oven
Step 2: Create the Buttery Graham Cracker Crust
Step 3: The Critical First Bake
Step 4: Layer the Chocolate
Step 5: Add the Marshmallow Blanket
Step 6: The Final Bake & Broil
Notes
- Use a 9×13 pan; line with parchment for easy removal.
- Toast graham cracker crust lightly before adding filling.
- Use high-quality chocolate for best melt.
- Mini marshmallows distribute evenly.
- Let cool completely before cutting—bars hold shape better.
- Refrigerate 30 minutes for cleaner slices.